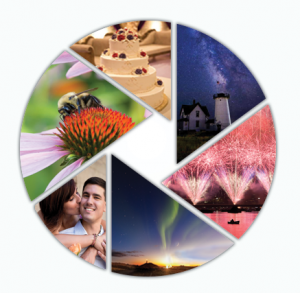
How to Photograph an Astrolandscape

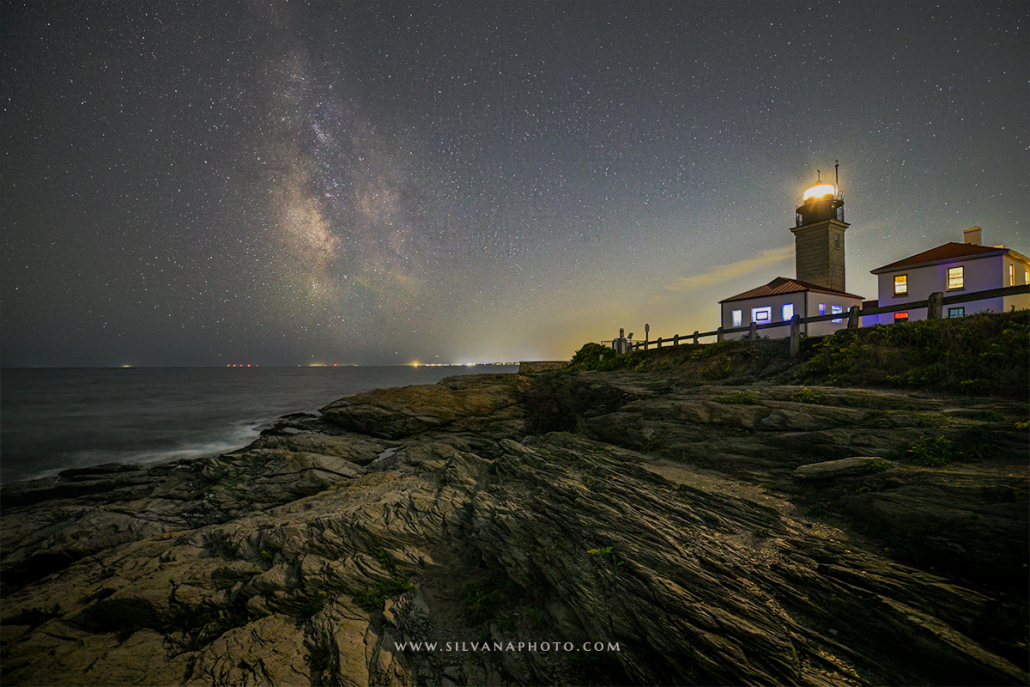
Night photography is a challenge in many ways. Our night vision is quite pathetic so we need to lean (heavily) on our cameras to tell us how much light is actually available. Luckily, digital cameras see really well in the dark so this becomes a simple exercise in understanding the histogram. These steps are for photographing an astrolandscape in your backyard or in a dark location where you can capture the magnificence of the Milky Way.
Basic Requirements
The minimum requirement to photograph an astrolandscape is not long. Granted, you can add accessories to make it a more successful endeavor, but at the very minimum you need:
- DSLR or mirrorless camera.
- A fast, sharp lens with a minimum of coma aberrations and a minimum aperture of 2.8.
- Solid tripod.
- Shutter release or internal shutter delay.
- No fear of using high ISO.
The basic camera settings are as follows. The shutter speed and ISO are a starting point but not the hard and fast rule.
- ISO 3200
- 20 second exposure
- f/2.8
- White balance – 4200K
- Shoot RAW
Focus
Next is focusing stars. Start with manual focus. Auto focus doesn’t work in the dark, it relies on light for it to work so switch it off. Focus peaking, if your camera has it, gets you there quicker. If you aren’t familiar with focus peaking, check if your camera has the feature. It only works when you are on manual focus and is incredibly helpful.
Focus on a bright star or planet. Jupiter is very handy if it is visible. Zoom in and use the focus ring to get the star to look like a sharp pinpoint. If it looks like a donut, it is not focused.
If you have a shutter release, take a shot. If not, set your shutter delay to a minimum of 2 seconds and trip the shutter. The delay will allow the camera to stabilize from any movement you introduced by hitting the shutter button.
Look at your image and zoom in. The stars should look like bright tiny dots. They should not look fuzzy.
Dang, Not too Sharp
Now you have the proper exposure and focus but you still get trails on your stars, not pinpoints. Why? The camera is mounted on a solid tripod. You followed the 400 or 500 rule or the basic setting for shutter speed. Unfortunately, that’s the problem. Those rules breakdown with digital cameras.
The shutter speed will determine whether the star looks like a star or a star trail based on the NPF rule. Another rule you say? Yes indeed. Photography is full of rules, many of them to be learned then bent or shattered. For astrolandscapes, some rules are fairly rigid. This one is critical for astrolandscape photography. The NPF rule is a calculation based upon the focal length and aperture of your lens, the pixel pitch of your camera’s sensor physical size, and the number of pixels. The subsequent number calculated will give you the maximum shutter speed you should use for sharp stars.
The following rule has been developed by Frédéric Michaud (the author) from Le Havre Astronomical Society (SAH) for the use of photographers and amateur astronomers.
Apps that have this calculator built in are qDslrDashboard, PlanIt!, PhotoPills, and more.

The maximum shutter speed is as follows:
(35 x aperture + 30 x pixel pitch) ÷ focal length = shutter speed in seconds.
If you don’t feel like pulling out the values for your sensor & pencil and paper, you can plug in your configuration into an app.
Here’s a screenshot from PlanIt! The light blue areas underlined in red are the values I selected from the dropdowns. The shutter speed was what PlanIt! calculated based on the selections. Using a 20mm lens with an aperture of f/2.0 the shutter speed can’t be over 5 seconds in order to have pinpoint stars on large prints. As I always want to be able to print large, I have PlanIt! configured to calculate accurate shutter speeds for pinpoint stars (large prints) otherwise, it defaults to the shutter speed which is for prints up to 11″x14″ in size.

Below, the shutter speed PlanIt! calculated based on the 500 rule. Not viable for pinpoint stars!

Below, from the Spot Stars menu in PhotoPills. I selected my camera, lens, aperture and mode I will be shooting with. In the first image, the mode is Default. This will give me the shutter speed to use which will give me minimum trails. This is appropriate for images I will print that are 11″x14″ or less. Notice the shutter speed for NPF – 15.47 seconds. Using the 500 rule I’d get substantial trails on the stars if I used 36 seconds!

Notice the shutter speed when I change the mode to Accurate. The shutter speed is now less than 8 seconds. I can now create a very large print and the stars will look like stars, not trailed.

Note what happens to the shutter speed when I select a 35mm lens. With magnification comes shorter shutter speeds.

Practicing the basic steps will make you more comfortable with using your camera in the dark.
You will also be amazed at the beauty that exists in the darkness of night.
Learn about the tools that help focus stars.
© Silvana Della Camera
Taking photos and want to make them more compelling?
Art isn’t just for walls. Art is also to hold in one’s hands.

 Silvana Della Camera
")
 Silvana Della Camera
")
 Silvana Della Camera
 Silvana Della Camera

This information is very informative. I have PhotoPills on my cell phone. From now on, I will be using the NPF rule and not the 500 rule.